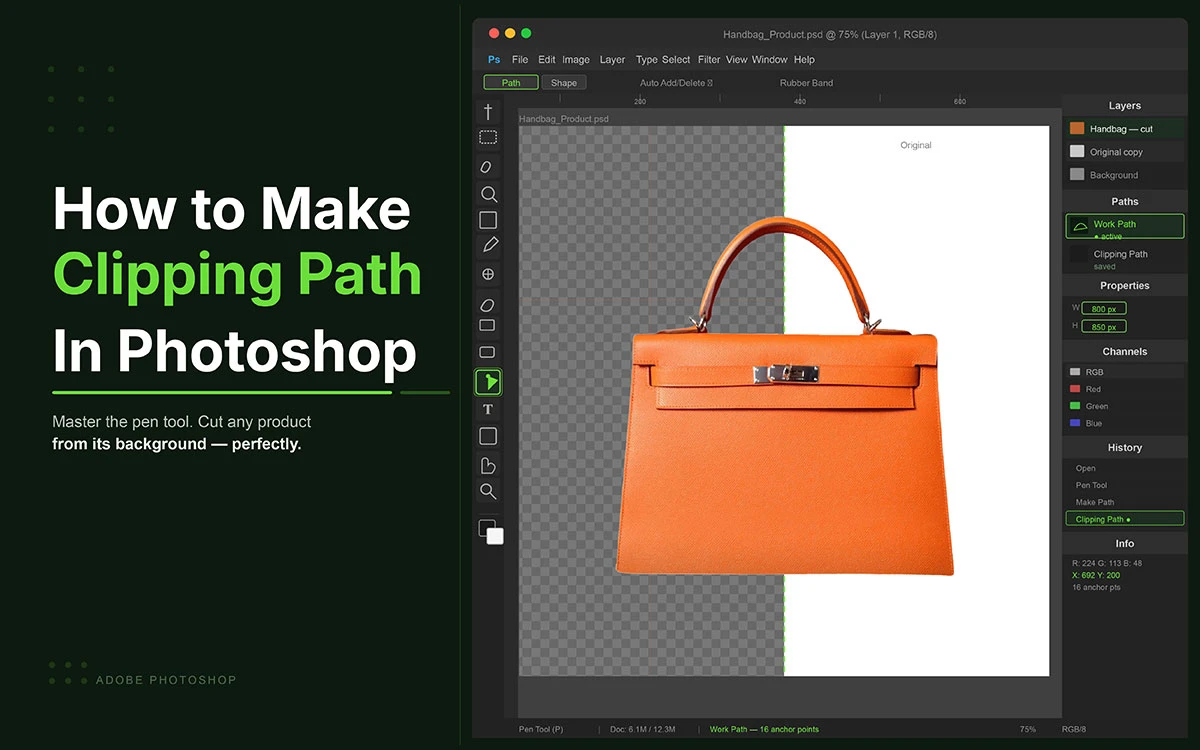
How to make a clipping path in Photoshop: The Ultimate Guide to Creating a Clipping Path
TL;DR
Learn how to make a clipping path in Photoshop to remove a background from a product image and isolate a subject for an eCommerce photo. Photoshop clipping path is one of the most valuable skills you can add to your design toolkit.
So, what exactly is a clipping path? In simple terms, it's a vector-based outline drawn around a subject in an image that clips everything outside the path, making it invisible or transparent. Unlike simple background removal tools, clipping paths give you pixel-perfect precision, making them the preferred method for professional product photography, catalog design, magazine layouts, and any project where image quality truly matters.
Photoshop's Pen Tool is the heart of clipping path creation and while it might seem intimidating at first, once you understand the workflow, you'll wonder how you ever edited images without it.
Now, we'll break down everything you need to know: from understanding what a clipping path is and when to use it, to a full step-by-step guide on creating, saving, and exporting clipping paths like a pro.
Let's get right into it!
How to make a clipping path in Photoshop
You're editing product photos, a photographer perfecting a composite shot, or a beginner just getting started, knowing how to make a clipping path in Photoshop is a skill that will instantly.
Top stores like Amazon, Shopify shops, and top snap shooters use sharp images. These paths make pics clear, crisp, and easy to see. They catch eyes and hold them.
You'll follow 5 easy steps to trace your subject and create a flawless clipping path. You'll learn how to set up your image, place anchor points, adjust curves, and refine edges. Follow each step carefully, and your rough, messy edges will become a sharp, precise clipping path, ready for any use.
Let's dive in, step by step!
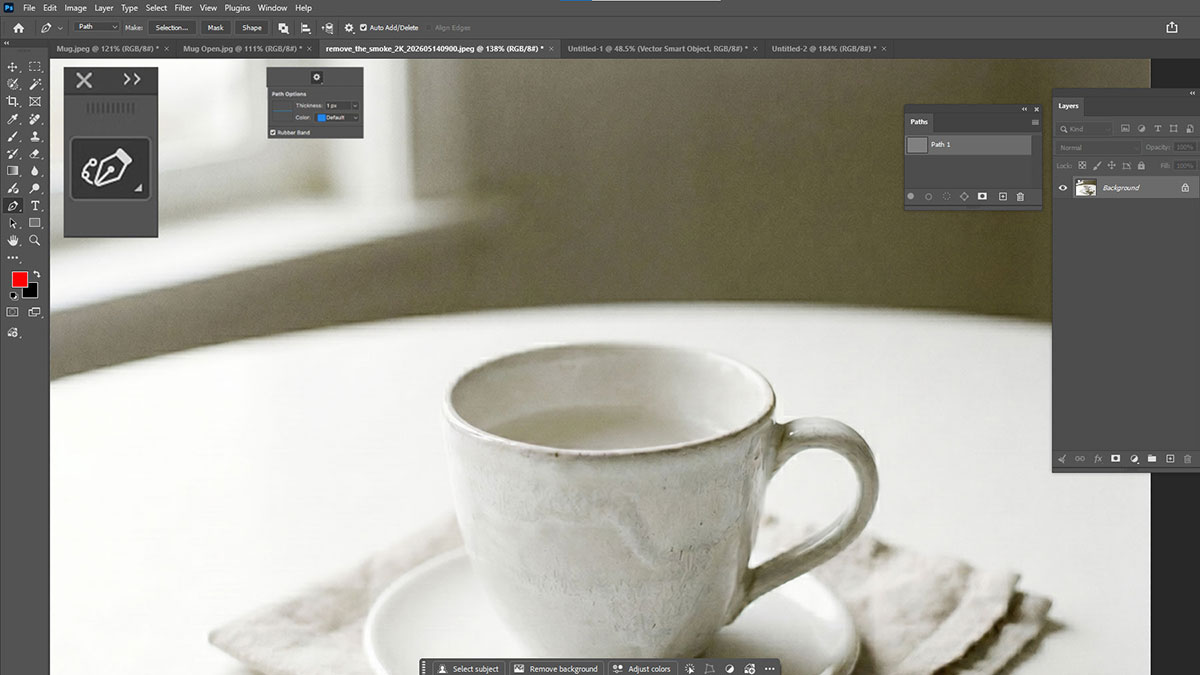
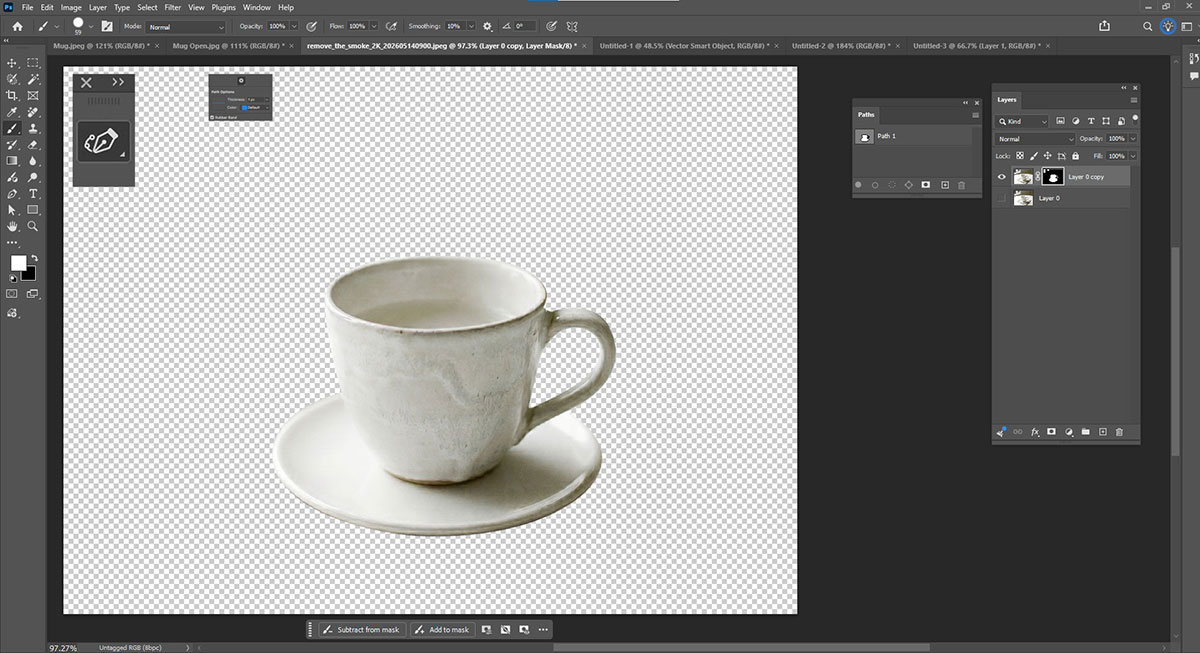
1. Open Your Image and Select the Pen Tool

Zoom in on the subject. This helps place anchor points with more care. When you see the edges closely, you can trace curves and corners more exactly.
Preparation tips:
- Make sure the image resolution is high enough to keep it clear
- Check the background and edges of the subject for clean work
- Use the Zoom Tool (Z) to focus on small or tricky areas
- Unlock the background layer if it is locked
After these checks, your image is ready. You can now move to the next step: selecting the tool to draw the path.
Select the Pen Tool
Set up pointers:
- Activate the Pen Tool (P) from the toolbar
- Choose Path Mode in the top options bar
- Zoom in close for better precision when tracing
- Adjust settings like rubber band mode if it helps you see curves
Once the Pen Tool is active and set, you are ready to trace the subject carefully.
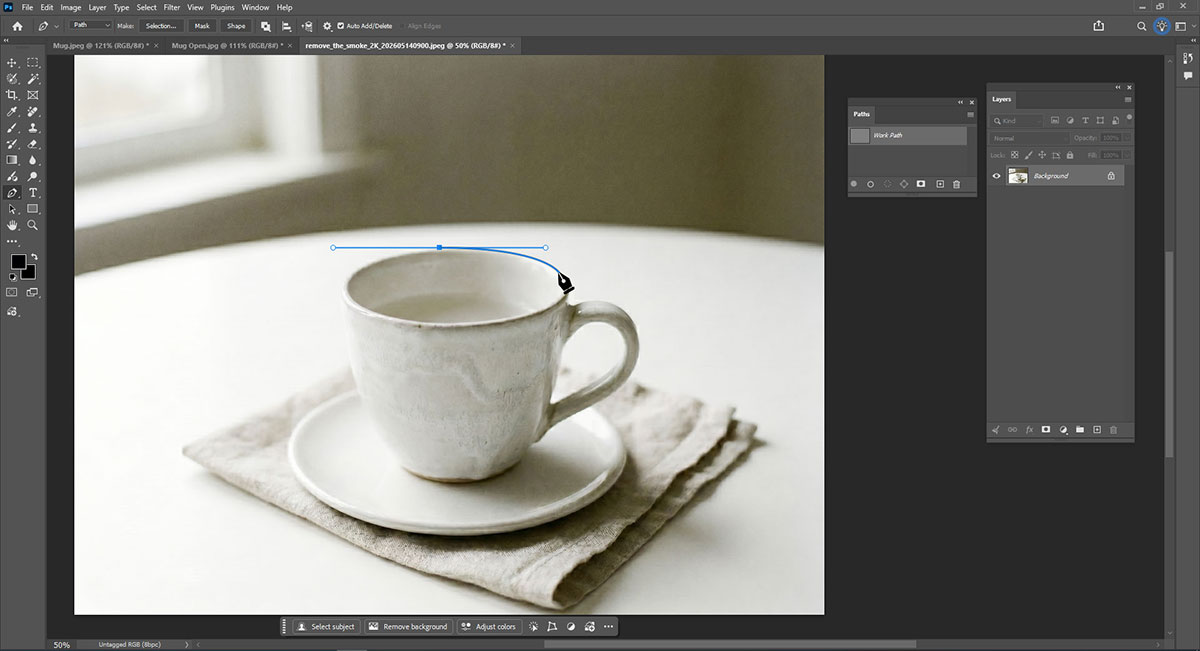
2. Draw a Path Around the Subject
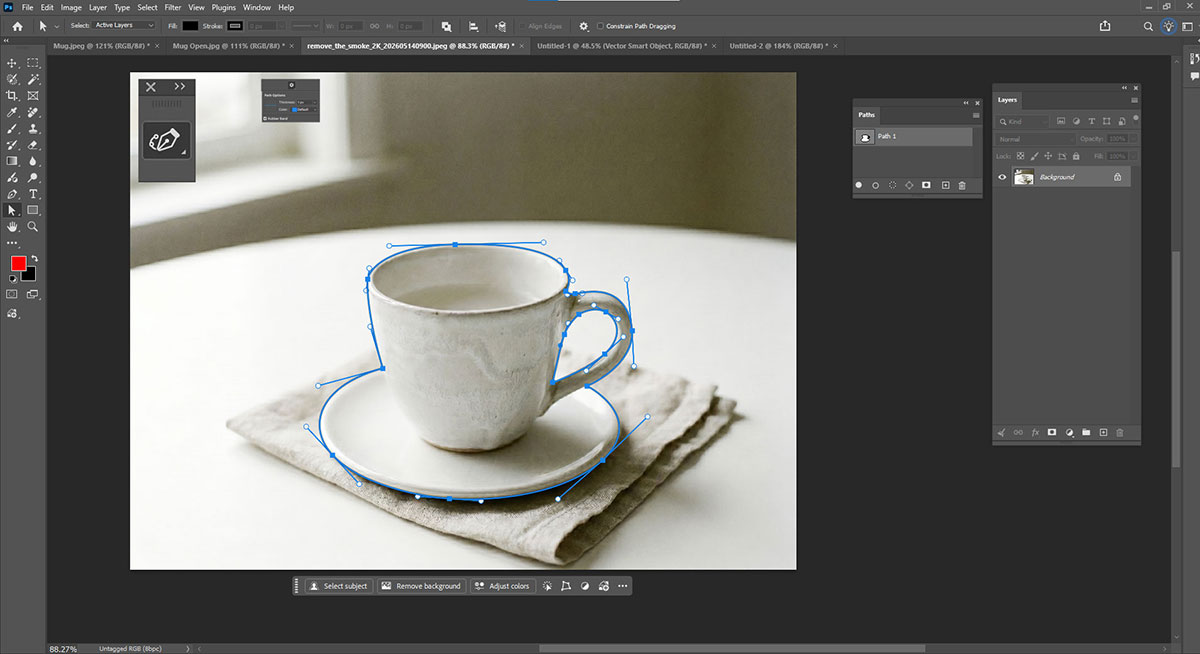
Now comes the detailed part: tracing the subject. Click to add anchor points along the edges. Drag handles to make curves follow the natural shape. Take your time. The cleaner the path, the smoother the final clipping will be.
Path drawing tips:
- Place anchor points at corners and curves to follow the shape closely
- Drag handles to control the curve smoothness
- Zoom in to trace fine edge details carefully
- Avoid too many points, fewer points make a smoother and cleaner path
When the path is complete, save it for later. This ensures your work can be used for clipping or other edits without starting over.
3. Save the path in the Paths panel
After you trace the subject with the Pen Tool, you need to close and save the path. Closing the path links the last point to the first. This makes a full loop around the subject. Only a closed path can turn into a selection. If the path is open, the selection may fail and the edges can look rough or cut.
Saving the path keeps your work safe. You can open it later to make changes. You don’t have to start from scratch. Keep a copy of the first path. This helps you check your work or fix mistakes. It saves time.
Steps to close and save the path:
- Link the last point to the first so the path forms a full loop
- Look in the Paths Panel under Work Path to see it is done
- Save it by double-clicking the path and giving it a clear name
- Keep a copy of the original path for edits or checks later
Once saved, you can move to the next step. You are ready to turn the path into a selection.
4. Define it as a clipping path
You can now define your saved and drawn path as a clipping path. Photoshop will then know that the clipping path is the outline of the subject which you want to keep. It's one of the ways to print, export, or select a subject without a background.
Way to define a clipping path:
- Display Paths Panel (Window Paths)
- Highlight the path you have just saved
- Hit the menu icon in the top right corner of the Paths Panel.
- Select Clipping Path from the menu.
- In the popup, choose your path name and click OK.
Photoshop starts seeing this path as a clipping path. After exporting the image (e. g. to TIFF or EPS), the background would remain hidden and the subject would be clearly detached. This phase is essential for high-quality printing or accurate image cutting. Need to merge multiple product colors into one frame? Learn about overlapping clipping path techniques for eCommerce product images.
5. Save the file in a supported format
Export and Save Steps:
- Look at all edges to make sure they are neat
- Save as PSD to keep layers, paths, and selections safe
- Export as PNG or TIFF for a clear background
- Keep a backup copy for later edits
Once done, your Photoshop clipping path is complete. The subject is neat, clean, and ready for use in any project, design, or composite without extra work.
7 Common Clipping Path Mistakes Beginners Make
When following the steps on how to make a clipping path in Photoshop, even small mistakes in Photoshop paths can make your image look rough or bad. Too few points or messy curves can spoil the work.
Read on to see the most common mistakes and quick ways to fix them while you trace your subject.
1) Too Few Anchor Points
Using too few points makes the path look rough or jagged. Add more points along bends and corners. Place points where the shape turns. This keeps the path smooth and neat. Your clipping path will look clean and ready to use.
2) Jagged Edges
Jagged edges come from tracing fast or zooming out too much. Zoom in and move each point and handle carefully. Use the Direct Selection tool for small tweaks. Refine Edge can help smooth rough parts. Take your time for a crisp, clean path.
3) Skipping Small Details
Ignoring tiny hairs, curves, or small objects can ruin the cutout. Zoom in and follow every small curve. Use soft selections or Refine Edge for delicate parts like hair or cloth. Small details keep your subject natural and complete.
4) Overlapping Paths
Paths that cross create errors, gaps, or double edges. Trace carefully without crossing lines. After closing, check for overlaps. Delete extra points and adjust handles. Single, clean paths save time and make selections easy.
5) Rushing the Path
Moving too fast leads to uneven lines and sloppy curves. Slow down and focus on each section. Zoom in for fine details. Careful work now saves time later and keeps your cutout neat and clean.
6) Not Using Refine Edge
Skipping Refine Edge or Select and Mask leaves harsh edges, especially on hair or cloth. Always refine edges after tracing. Adjust smooth, feather, and contrast. This step makes your path look real and clean on any background.
7) Incorrect Curve Handles
Wrong handles make lines uneven and odd. Watch each handle as you place points. Use Direct Selection to tweak them. Correct handles keep curves smooth and your path polished.